Friday, March 18, 2011

Basement Living Area

Until recently, the space in the basement living area sat empty. With the help of a few snow days, I was able to get this room painted and ready for new furniture... 

This is an idea of what it looked like before.

This is the craziest thing.. They left it for me, how nice of them! After selling it on craigslist, the room was officially empty.

Before painting, one wall was wood paneling, and the other three were yellow. Not TERRIBLE, but just not my style. 

This is after the walls were painted. I chose much cooler colors which toned down the carpet as well. These colors provided a fresh, and updated feel to the basement. 

These lamps are probably my favorite part of the basement living area now. I needed lamps for the room, so I decided to buy matching (gold) lamps at Goodwill for $3 a piece. After spray painting them, they add a pop of color to the room, and look brand new!

I am determined to find a rug that will pull this room together, but I have yet to find one that I like. But other than that, the room is becoming quite cozy!

Side Note: The colors in this room are dark brown and green.. in these pictures this all looks black or dark gray-- but brown it is!

The "Problem Child"

Ever since I had purchased the home, one room in particular, made me cringe-- so much in fact, that it earned the nickname "Problem Child". It was dark, dingy, and if that wasn't enough, it had a giant storage cabinet attached, the length of one wall. I procrastinated with this room, because it seemed so overwhelming. Luckily, I had a wonderful roommate that was moving in, and I had a deadline. So here's the story of the "Problem Child"...

First things first, we needed to remove the giant storage cabinet pictured here:
I was lucky enough to find someone that actually wanted to PURCHASE the bottom half of the cabinets for their garage. The shelving units and hanging cabinets were thrown out. After a lot of lifting, moving, and tearing down, the wall was finally clear!


Unfortunately, where the cabinet once stood, there was missing carpet... Since one section of flooring was missing the tiles, I decided to remove all of the carpet, and try to clean and restore the original hard tiles underneath. Once all of the carpet tiles had been removed, I found that there was a section (on the opposite side of the room) that was missing the hard tiles. AH! Frustrating.

So I decided to let the flooring situation wait, as I was going to begin painting. I painted one wall with a color the previous owners had left and DID NOT LIKE IT. Only because it made the room feel even more dingy. I decided that stark white was the only way to make it truly feel clean. The following picture is after the first coat of KILZ. Oh, there was so much surface area..


After finishing the walls, I proceeded to paint the ceiling to help finish off the fresh look. After removal of the carpet tiles, I searched a local carpet store, and decided on a remnant that was on clearance. Since it was just down the street, the salesman was nice enough to have it delivered free of charge. After it was delivered, I measured, cut, and installed it myself (saved $39 dollars!). 

Not sure why there were outlet covers missing when I took this, but they're definitely on there now. 
The roommate is ready to move in!
Approximate cost of this room: 
Carpet Remnant: $130
KILZ: $20
Painting Supplies: $20
Profit from selling cabinet: $20
New Outlet Plates: $10
Net Cost for Room: $ 160!

BASEMENT BEDROOM AFTER:

After the roomie moved in!


This room is now functional, and CLEAN! A little hard work and time can go a long way!

Thursday, March 17, 2011

Bathrooms

So, there is still a lot that I am planning to do this these bathrooms, but like the nature of most of my fix-ups, I need them to remain practical, quick, and inexpensive.

MAIN FLOOR BATHROOM BEFORE


MAIN FLOOR BATHROOM AFTER
Replaced the mirror, light fixture, and added a space saver. 
Approximate cost: $72.

SECOND FLOOR BATHROOM BEFORE


SECOND FLOOR BATHROOM AFTER
Added a shower, space-saver, new light fixture, and new mirror. 
Approximate cost: $165


New mirror and light fixture for the bathroom. It's amazing how much it opened the space.

Ta-da!

I am planning to tile the floor and paint, but that day will come later!

Wednesday, March 16, 2011

A Big Dose of "Grown-Up"

The first evening that I sat in my empty house, I stared at the empty rooms, trying to visualize my plans for decorating. Unfortunately, those plans were put on hold as I worked to keep the pool clean, had a new air conditioner installed (85 degrees on the second floor is NO fun), re-routed cable lines to every room in the house, aaand not to mention, putting up a privacy fence in the back yard. I definitely will not take credit for all of those things, because my wonderful dad and other amazing men in my life helped me out greatly! Moving in, and then realizing I needed to do these things was a complete shock. I remember someone said to me, "Welcome to the wonderful world of home ownership!" Dang right. There have definitely been other things that needed to be fixed: the "phantom" toilet, installing a new garage door opener, re-wiring some electric.

But that's enough about boring repairs! On to the fun stuff....

I will be showing before and after pictures with a brief explanation of what was done.

BACKYARD BEFORE: This is what the backyard looked like when I purchased the house. The yard was sectioned off into three parts (for the previous owners' dogs). My biggest fear was that the patch where the dogs had killed the grass would not come back... 

BACKYARD AFTER: This was actually taken after the privacy fence was up, but you can see where we removed the chain-link fence, so now I have one, big open yard!


My neighbor's tree was swallowing my yard/pool... so we asked to trim it back.

After the limbs were cut.. and the privacy fence is going up!


The true workers...


SIDE YARD BEFORE: Weeds that were overgrown.. I found many items in this mess including: an ax, a hoe, a rake, and a SCYTHE. Kinda creepy. 

 SIDEYARD AFTER: Just a little clean up.

BACKYARD GARDEN BEFORE

 BACKYARD GARDEN AFTER

After Verticutting and Overlaying. Hoping that the new grass will grow!

It definitely did! .. It actually looks better yet than this picture, but I will post one later.

That's about it for the exterior. This spring, I am hoping to work on landscaping and painting my front door!

The Search is On

First of all, I cannot wait to share this experience with you! This has been the most challenging, yet rewarding, past few months of my life. We'll start with a bit of background about my interest in real estate and buying a home...

I have always been intrigued by online real estate sites, and often spent hours looking looking at homes on realtor.com-- comparing prices, approximating livable square feet, critiquing interior design, and building a wish list of my own. In January 2010, I started looking for a home to purchase, and believe me, I became much more selective. I searched through dozens of homes online, and walked through about ten of them.

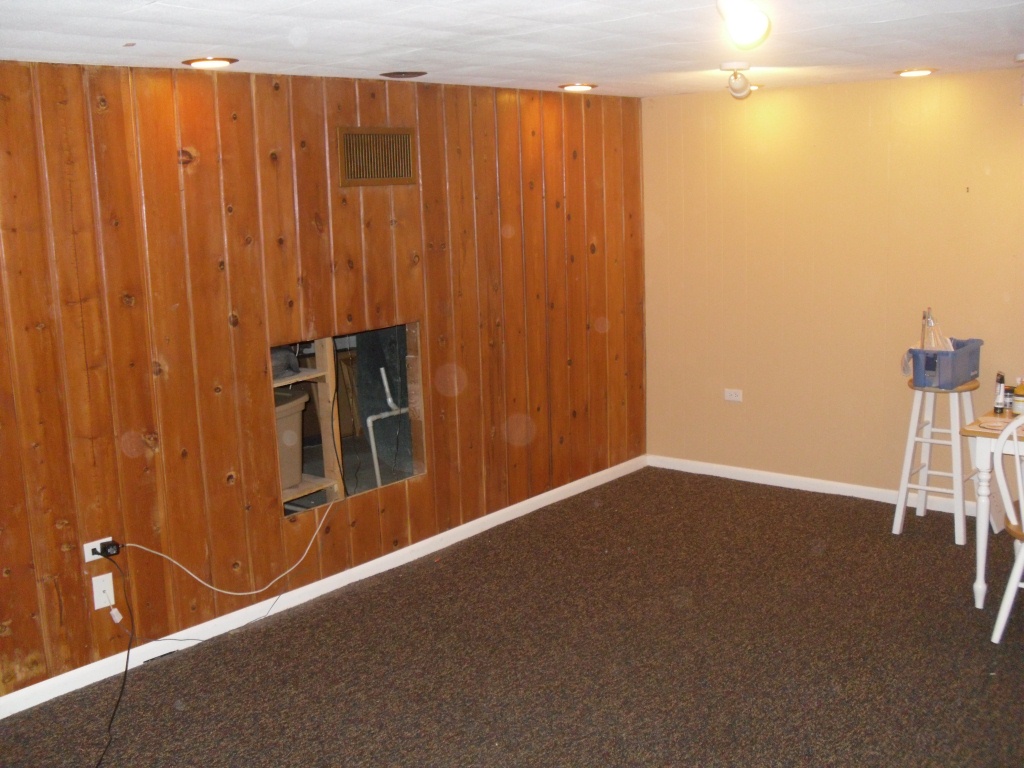
I kept looking and I found the house I had been looking for. It was in a beautiful neighborhood, needed just enough TLC to make it personal, and it had charm beyond belief. I needed updated, yes.. which made me leery, but I tossed the reservations aside.

One challenge that presented itself was that of receiving a home loan. The first bank that I applied to required a co-signer on the loan (due to not having had my current position for at least two years). I remember feeling defeated, and the initial fear of not being able to achieve my goals began to eat away at my ambition.

But, oh.. doesn't failure always prove to be the strongest motivator?

I did some research and visited with another bank (a local, and more personable one!). They were happy to work with me... me, myself and I. No co-signer!

Once I had the bank approval, I was ready to make my offer on this dream home. Yes, it needed quite a bit of updating, but I was ready for the challenge.

Womp, womp, womp. As it turned out, the home was a short-sale, and it could be up to 8 months before I heard anything back on the offer. I waited for about a month, and did not hear anything. I was frustrated and wanted to give up on the whole process. However, with the support of my wonderful agent, I kept searching. She encouraged me to think outside of my tiny, pre-programmed box.

So, I kept looking. I went back to searching online, and saw a home that had been listed for only a few days. I had immediate interest--Could this house be the reason God did not allow movement on my other offer? I called my agent up that night and asked her take me -- and she did! I pulled up to the house, and fell in love. It was a strange feeling of peace, and I had instant confidence in my choice to look at this house. As I walked through, it just got better and better...

Within 2 weeks, I withdrew my offer from the other house, put one down on this home, negotiated, and set a closing date. God knew what he was doing! Once I found this house, it was like a giant green light flashing "GO!". Absolute peace with the decision.

So, in June 2010, I closed on my first home. And THIS is where the fun begins..