Saturday, July 30, 2011

Bathroom Floor

It is always the old trends that come around to haunt us. In this case: HONEYCOMB flooring. This tile work was in my upstairs bathroom, and although it was in okay condition, it never seemed to feel clean due to the grout creases. Also, because of the light color, you could see any, and every, little piece of dirt on the floor [I'm not going to pretend my house is kept immaculate]. Also, much of the tile is chipping, which causes it to look even dirtier. Since a complete remodel for this bathroom is waaay down the line, I thought I would do something easy and inexpensive.

Here is a picture of what the bathroom looked like with the honeycomb tile. 

Laying out the tiles, trying to get a feel for what I will need to trim.

Almost done...

And after it's all in. The lighting doesn't really do the color or pattern justice, but the darker shade of brown makes the vanity pop. 

I like the contrast of the dark flooring against the teal-ish tiles and white fixtures. I just couldn't understand the yellow flooring..

It just looks/feels so much cleaner! 

I found these tiles at a local discount store for less than $20. It took me about an hour and a half (after spending most of the time cutting edges) to completely lay down.  I would say it was well worth the time and effort! An excellent temporary solution until I can afford my dream bathroom (ha). 

Monday, July 4, 2011

A Very Happy 4th!

We have finally reached the last stretch of our endeavours!  Here are the updates since my last post:

Wanted to give the tree in the front yard some uniformity too.. but it takes a lot to make this thing look under control! Before, it was basically vines growing from the bottom into the grass.
I went ahead and put a little bit of edging around the tree to contain most of the vine-like plants at the bottom. I'm hoping to next year, really focus on getting rid of the weeds and planing flowers in it -- unfortunately, I can only do one project at a time!

Finished up the patio with a bench, a few pots of flowers, and some landscape timber. It's quite relaxing out there--and in the shade all day long!

So the light fixture that I like most held the lights at an awkwardly low level. So, I checked to see if raising it was an option. Dad was able to build this awesome stand that raised it! I decided to disguise it with a planter and flowers.. happened to find one that matched the fixture exactly. Yay!

Installing the electric for this light, and the pool light.

Getting it put together...

Voila! All put together!

...and after planting flowers.


Funny story: The same day that we finished this structure, I had to make a trip to ACE Hardware to grab a few things... and look what was staring at me as I waited in line! If you look behind the blue chair you will notice a light fixture... fixed in a planter. I do have to say though, ours looks way better-- and better quality, I'm sure!

Painted new skimmers!

 In the process of painting steps and parts of the floor...

Getting ready to install the new filter. The old one (front) was cracked from not having any protection from the sun, and also too small for a pool this size. New filter (standing awesomely in the back) is ready for the task.

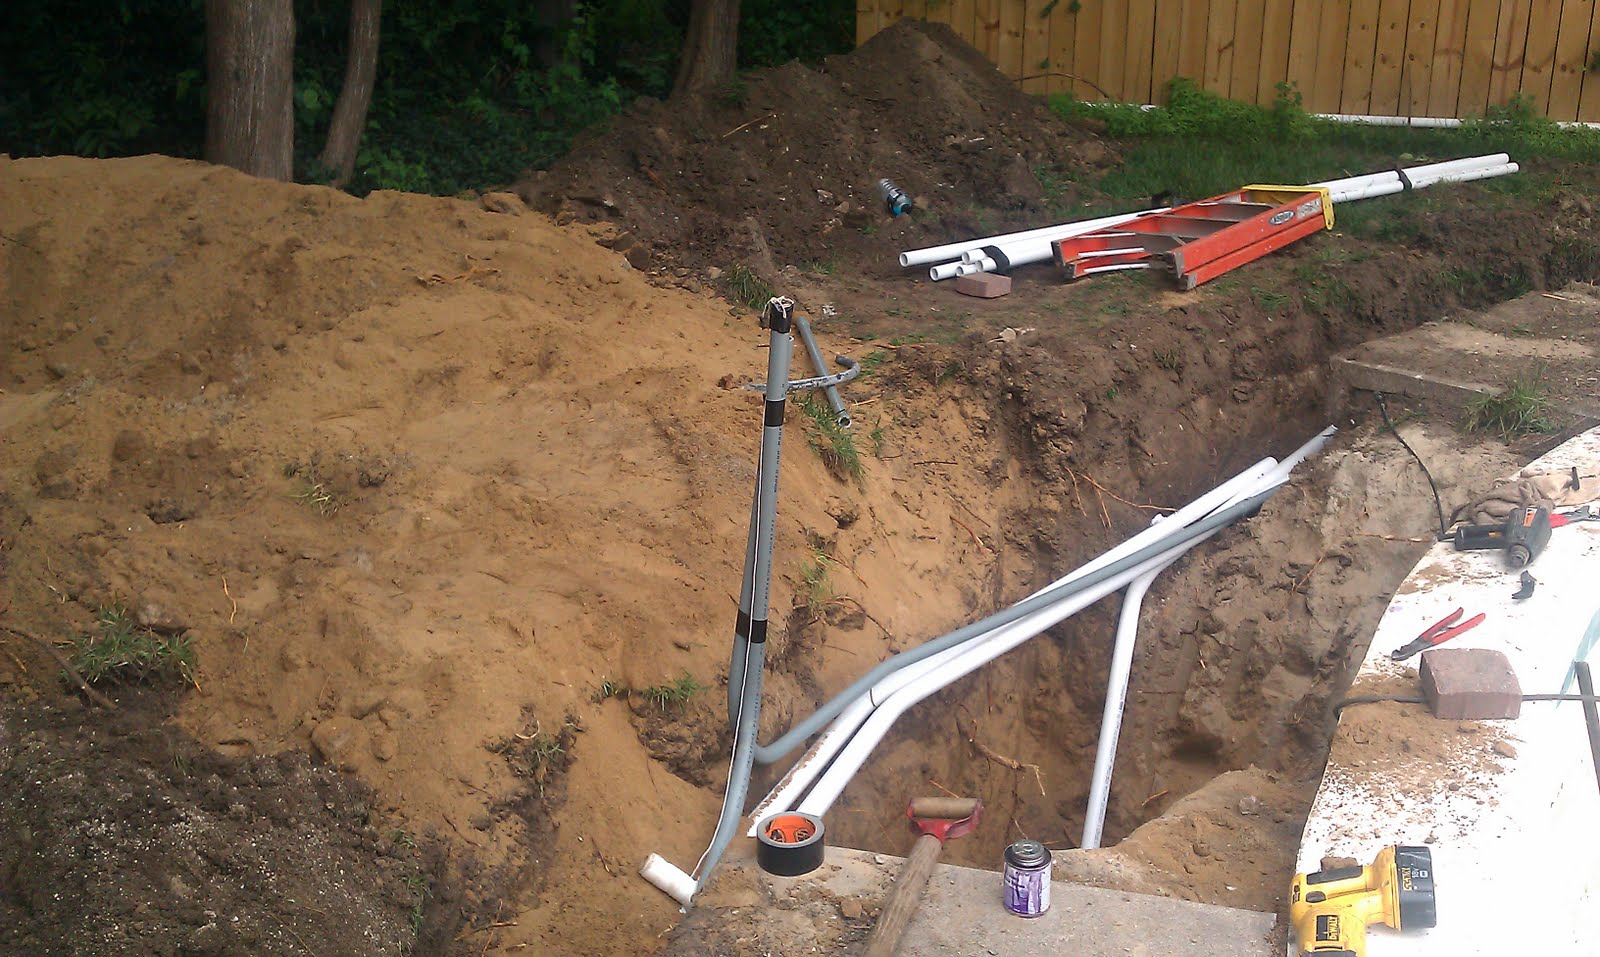
The plumbing for the new filter system: 2 skimmers, 1 drain and 3 returns, none of which were there previously. Working by the light of my cell phone, we finished this project up at just past midnight that night.
Side note, there is also now an automatic chlorine feeder that is built into this..where the long pipe is on the far left.

POWERWASH!! ... (ew.. Go Dad!)

Aaannnd after a day or two of cleaning, balancing chemicals, and troubleshooting the plumbing and electric, we are open for business! This is a picture I took of Erik's cannonball. Whoops!

A sad excuse for a volleyball net, but it's still fun! Especially watching these hooligans play.

Imani and her friend Arianna came over to swim too! ... Kali's chillin in the background.

After removing the huge piles of dead leaves that had taken over my patio -- it's amazing how much bigger it makes it look when it's actually clear...

Still needing to clean up a few things. Definitely need more plants or some kind of color next summer.

Extra seating area.


Needless to say, I am one happy girl!!

I am sooo thankful for all of the hard work that my Dad put into this -- he's awesome. Thanks to my brothers too for giving up some of their weekends to help out! Love you all, and can't wait to enjoy this with you guys from here on out!

Thursday, June 23, 2011

Backyard Wednesday

Thanks to working 4 10-hr days, I was able to take yesterday off of work. I was able to get everything I had hoped to done, and here are the updates! 

A few days back, I tried to level out the dirt as well as I could, planted some grass seed, and hoped for the best. It is coming in very well in a few spots, and some others will just take time, I suppose. 

This is a picture of what the little patio area looked like before. Blah.

The busted up concrete from the pool... (notice the pile of rocks/dirt/miscellaneous crap to the left).

After the concrete (extra that we didn't use on the pool) was used to bond the rocks. It still needs some finishing touches, and to be swept off, but it's a start.

Waiting patiently for the grass to grow, but at least the big pile of rocks is gone! I'm thinking about doing some kind of edging. I have a bench and a couple of flower pots that will go on here. Can't wait to set them up!

My main reason for doing this... is so it wouldn't end up looking like this! This is a picture taken from when I first moved into the house. Yikes. (Sorry about the glare.)

My backyard! I have started to forget what it looks like without power tools everywhere. Still working on that stubborn grass...

I just now got a hold of this picture. This was taken when they tunneled underneath the pool to install the bottom drain. My brother's hand was literally sticking up out of the drain in the middle of the pool. I had to walk away because I am too claustrophobic, and started freaking out just watching it! 

There were a few large places on the bottom of the pool that needed to be patched. Check! 

Just a reminder of what the skimmers looked like during installation... 

And what they look like now! All sealed, with new tile and ready to be painted. The other one looks identical.

So, I decided to go ahead and poor the steps! Dad was able to build a mold that was round and fit the inside lining of the pool. Now we can actually enter the pool normally... 

This weekend, we are patching, sealing, and painting! I will post more pictures of the pool after this is complete, and after my little patio "thing" is all decorated. 

I see the light at the end of the tunnel!!!

Sunday, June 12, 2011

Smaller Items- a Door and a Floor.

I have a lot to update on here. Here are a couple of smaller projects that I have been working on throughout this spring.

I finally painted my front door red! I am so happy with the way it turned out -- it really gives the front of my house the "pop" that it needed.

The door before was in great condition, I just did not like the wood against the color of my siding.

After painting it RED! I think it makes it look more welcoming. :)

Another project I have been working on is the storage/laundry room in the basement. It just always seems quite dingy, dirty and unorganized. I will soon be installing my new washer and dryer (which are BRIGHT WHITE! Thank goodness), and finishing up the floor. But here is a preview of what the floor looked like before, and what it's going to look like after being painted.

Before, the floor looked like it belonged in a garage. Rust stains, paint splatters, all of that fun stuff. 

The floor is still glossy looking because it is wet, but at least it is all one color. Don't mind the table holding up the piping... or everything that I had to shove in the corner so I could paint the floor.

Once I get the new washer/dryer installed, shelves painted and everything organized, I will post an updated picture.

Questions or comments??

Tool Time? Pool Time!

Happy summer to all! While many of you have been indulging in the summer life and laying by a pool, I have been working to get mine in better condition!

A little background of the pool:
When I purchased this house, the pool was literally a cement bowl in the backyard. It had no drains, no returns, no anything. The only plumbing it contained was one pipe that split into the skimmer and the fill function.

After doing some research, I learned that a storm/tornado in the 90s had knocked a tree onto the pool. It busted concrete as well as the electric lines beneath. Instead of fixing in the electric, it was simply covered up by more concrete (SHAME ON WHOEVER DID THAT!)... so the pool light did not work.

Here is an idea of what it looked like before we started. (Note that this is before the privacy fence too.)


Here are some pictures of what we have completed so far:

The Demo Begins... We busted up three slabs of concrete. 

Before installing skimmer #1.


Skimmer #1 installed with plumbing to return and auto-fill.

Pouring concrete around new skimmer to make sure it is set.

Well, Hello, giant digger! This was used for digging straight down, so that we could burrow underneath the deep end of the pool.. to install the bottom drain. The electric pole you see sticking up is where my new outdoor light fixture will go.

This is with the plumbing exposed. But again, this is where the deep hole was.

Installation of the bottom drain.

Installation of Skimmer #2.

Concrete mold for skimmer #1.

Front view of concrete mold. You can also see the return and auto fill hole that were installed.

Last slab of concrete to be poured!

My poor grass has definitely taken a beating.. but SO worth it.

 Skimmer #1 - To be painted.

 Skimmer #2 - To be painted.

Center slab (with light-post)


This is my side project. I wanted to reuse the concrete, so I am making a little sitting area in the back corner of the yard. Just the first step -- I still need to continue leveling it out and then seal them together with mortar mix, or something of the sort. I will post another picture when it's done. I'm hoping to have just a small bench and a  flower pot or something back there.


Check back for more updates! I am considering pouring concrete steps inside of the pool since there are none now, but I haven't decided yet. Sorry that some of these pictures seem really mudding and dirty, as it rained earlier today before I took them.

Thanks for reading-- and I will have finished product pictures soon!